Please understand this is out of our control and plan for a few extra days for delivery.
- Stock: In Stock
- PART NUMBER: 102161
- UPC: 102161
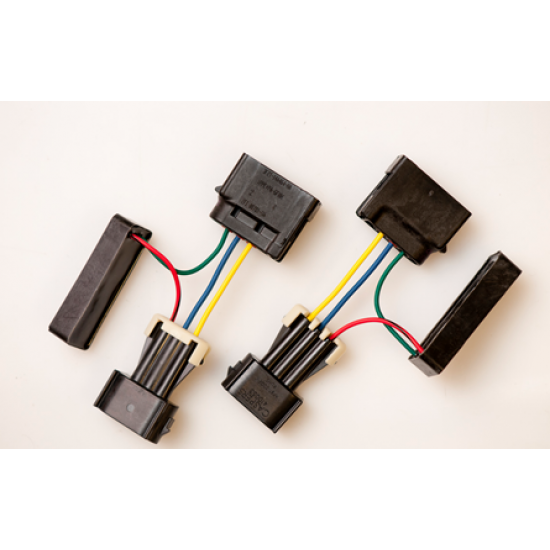
This kit is designed to "Plug-And-Play" into the brake/tail light bulb socket on the outside tail lamp housings on the vehicle
( DOES NOT WORK WITH LED APPLICATIONS).
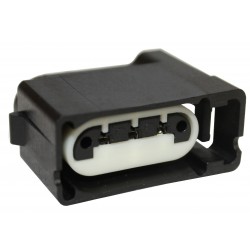
Designed for Gen-5 Camaro 2010-2013, using AC Delco LS272
twist-lock modular sockets and four tail/brake lights; two lamps on each side
of the rear of the vehicle. Two identical modules are included in this kit, one
for each side of the vehicle. The sequential delay alters the outer TURN SIGNAL
(Brake) light.
Here's
how it works: The circuitry in this module produces a slight delay which causes
your outer turn signal light filament to come on a bit later than the in-board turn
signal light. When the signal blinks, a
sequential step between the inboard and the outboard light displays an
outward-flowing effect, as opposed to two bulbs lighting at the same time. The delay is long enough to display a
sequential effect, but short enough to prevent a diagnostics "burned out
bulb" error in the vehicle. Note the
BRAKE lights will both sequence outward when the brakes are applied.
To
install: Open the deck lid (Camaro is illustrated, drivers side) and remove the
access cover using a plastic fastener removal tool (shown) or thin screwdriver
to release the plastic fasteners. (Note: Fastener Removal Tool is available
from Harbor Freight Tools or auto body shop supply dealers). Pop the fastener
head upward and remove the fastener body. Inside the pocket, locate the 3-wire
connector that plugs into the light bulb assembly. Press the side latch inward
and pull the connector from the bulb assembly.
For installation instructions, note part number and check:

